String Art: Shroom Time
I got addicted to pictures of string art on Pinterest and finally could not contain myself any longer! One of my good friends Meg was lucky enough to need a gift just about that time and had half-jokingly requested a mushroom not long ago. When I saw the picture of this one, it had her name all over it!
I'm not going to go into a lot of how-to detail today. There will be a post in the near future about with the nitty-gritty on how I created the world in string art. In the mean time, a picture is worth a thousand words so here are the highlights.
What I used:
12" X 12" Wood Panel (actually I got a 12" X 36" panel from Lowe's and cut it into thirds! - but this precut birch plywood panel would work great if you want to simplify and not have to cut it)
Wood Stain
Small craft nails or wire nails (I used 3/4" nails which turned out to be pretty perfect!)
Small hammer (I like this small ball pein hammer - you can use a bigger hammer, your hand will get tired in a hurry, but it'll work!)
Embroidery thread (I used this DMC size 5 - lovely colors! But this works great if you’re looking for something a bit more economically friendly)
Needle-nose pliers (not required but very handy - these are pretty perfect for this!)
Pattern for the picture you want to make
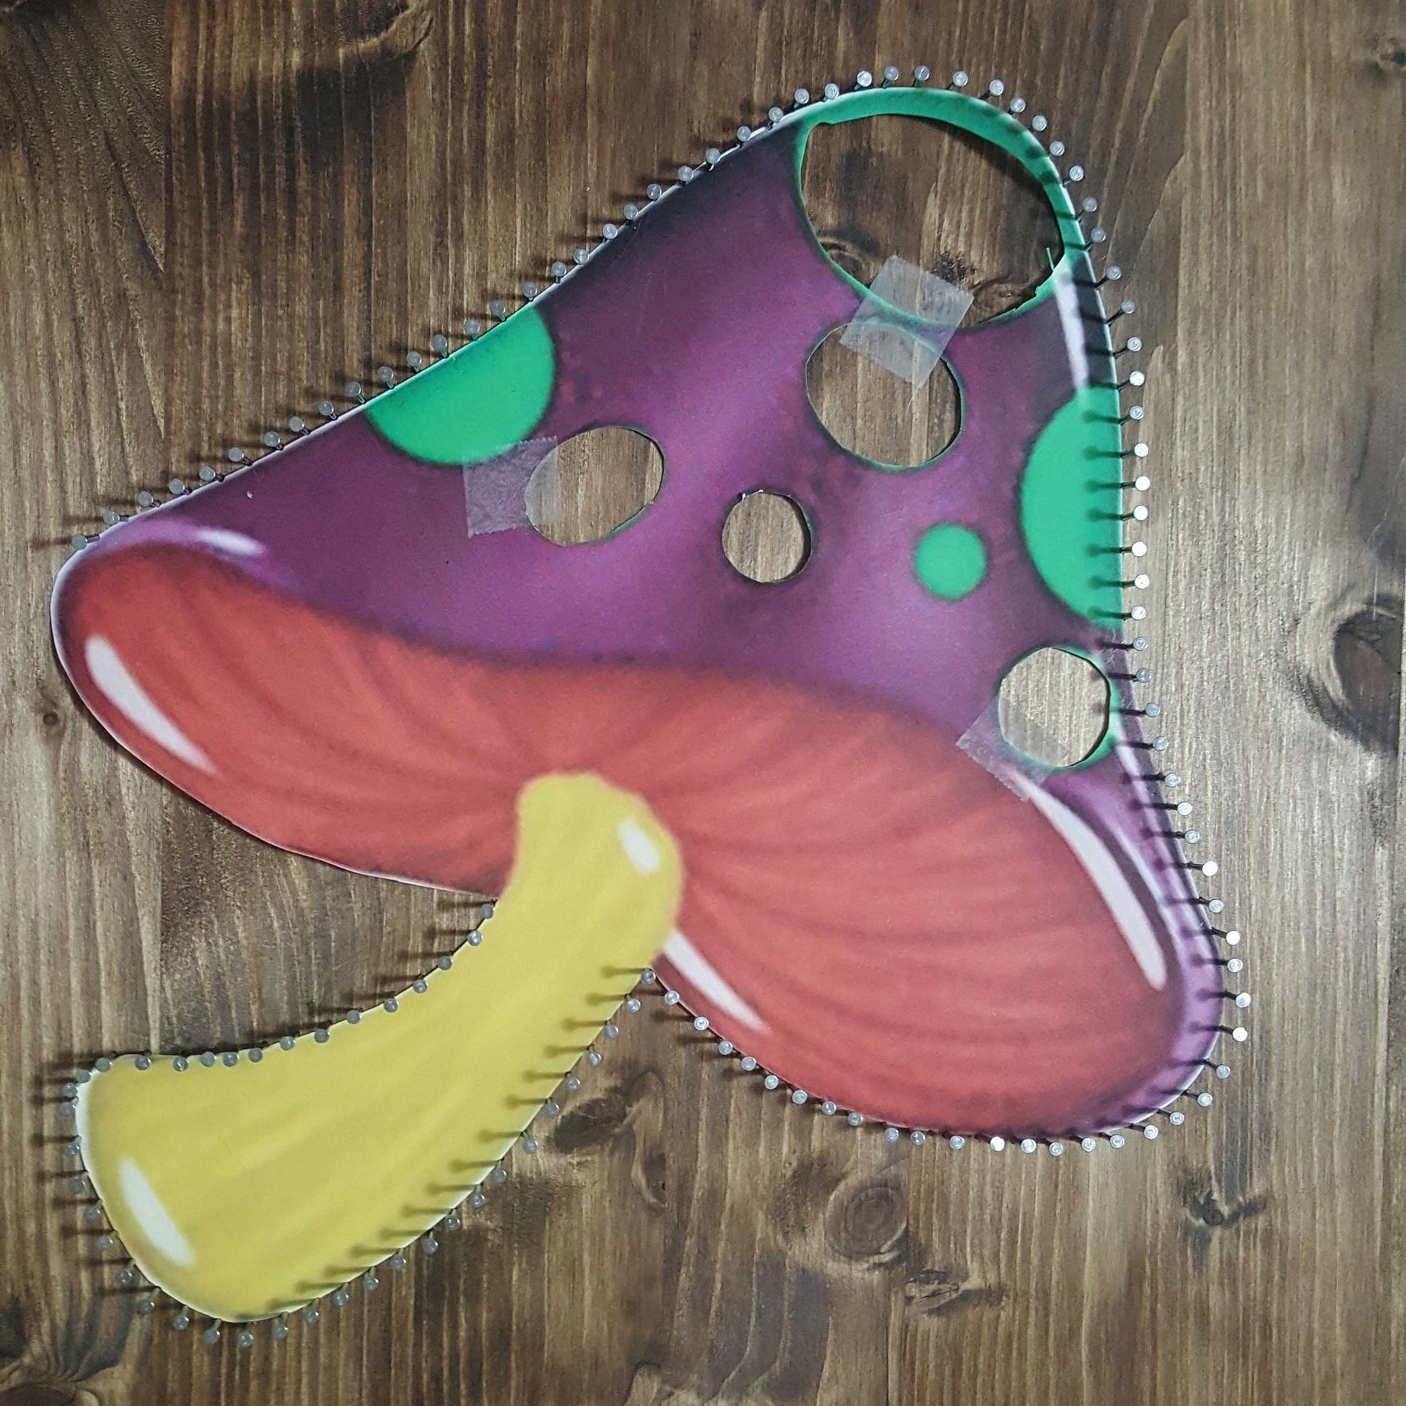
I fell in love with this mushroom picture as soon as I saw it and the colors were just right so I went with it! However, you have the power, so if you want to change your colors up, go for it!

I read a lot of tutorials where people didn't cut out their template, just nailed right through it. That completely works, but cutting was a little easier for me in the long run. I placed the nails about a half-inch apart and it took a couple of hours just to do the outside edge.
I have to take a moment here to say it's high time someone created a better way to package embroidery thread than rolling it back on itself with a couple of pieces of paper glued around it. I'll just leave this here as an example of what not to do.

I did try to make sure that I "layered" the different parts of the mushroom so that there was some depth at the end. Also, as you can see, I used two shades of green and two shades of purple to give it a richer look. I love the way that turned out! I ran the two colors together rather than doing them separately so it didn't take any extra time.

I e-wrapped around every nail before doing any criss-crosses which gave it a nice clean outline when finished.

Sometimes I got lazy and wrapped down the side of several nails at once. Got to be careful doing that though. It can effect your end result.

The overall project took longer than I expected (probably about 5-6 hours), but It makes me smile every time I look at it.
Have you ever made a string art? What lessons did you learn?
If you prefer your wall-hangings a little more subtle in color, be sure to check out my post on painting a sign, because I’m “painting” on the corner of a world map string art!